When you’re facing a roof replacement, understanding each step helps you make informed decisions and avoid costly mistakes. You’ll need to inspect your current roof, select appropriate materials, hire a qualified contractor, and prepare your property before work begins. But the actual replacement process involves multiple stages—from removing old materials to installing new shingles and sealing critical areas—and each step requires specific attention to detail to ascertain your roof performs properly for years to come.
Step 1: Inspect Your Roof and Assess Replacement Need
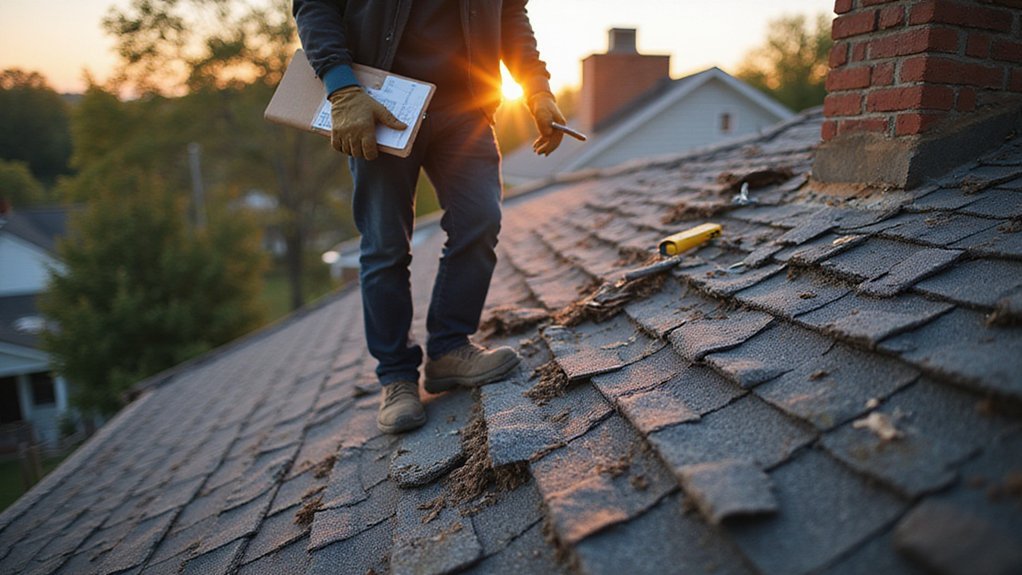
Before you decide whether your roof needs replacing, you’ll want to conduct a thorough inspection that examines both the interior and exterior of your roof system, checking for signs of damage, deterioration, and wear that might indicate it’s time for a replacement. Start by looking at your roof’s exterior from the ground, using binoculars to spot missing or damaged shingles, cracked tiles, or exposed underlayment. Inside your attic, check for water stains on wood beams, mold growth, or daylight coming through gaps. Look for granules (small pebbles from shingles) in your gutters, which indicate aging shingles. Pay attention to sagging areas or soft spots, as these suggest structural problems. Document all findings with photos and notes to discuss with roofing professionals.
Step 2: Choose Your Roof Replacement Material and Design
Once you’ve confirmed that your roof needs replacing, you’ll need to select the right material and design that matches your home’s style, budget, and climate conditions. Popular options include asphalt shingles, which offer affordability and versatility; metal roofing, which provides durability and energy efficiency; and wood shakes, which deliver aesthetic appeal but require more maintenance. Consider your region’s weather patterns—areas with heavy snow benefit from steep-pitched roofs, while coastal regions need salt-resistant materials. You’ll also want to evaluate the lifespan of each material, ranging from fifteen to fifty years depending on the type. Research local building codes and HOA requirements, as they may restrict certain materials or styles. Finally, obtain quotes from multiple suppliers to compare pricing and quality before making your final decision.
Step 3: Get Quotes and Select Your Contractor
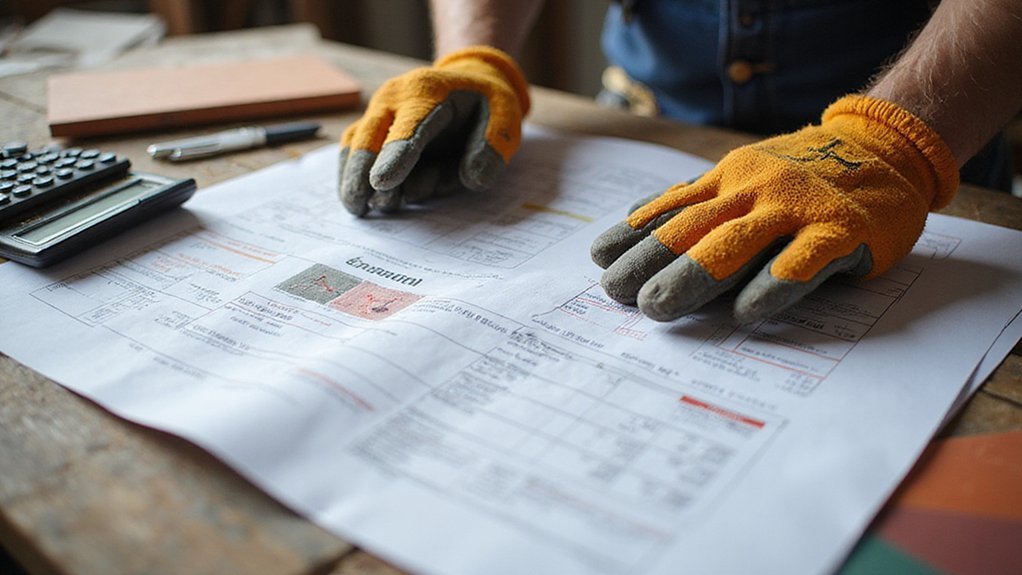
Now that you’ve decided on your roofing material and design, you’ll need to find a qualified contractor who can install your new roof correctly and professionally. Start by gathering recommendations from friends, family, and neighbors who’ve had recent roof work done, then search online for local roofers with strong reviews and proper licensing. Contact at least three contractors and request detailed written quotes that include labor costs, materials, timeline, and warranty information. Compare the quotes carefully, but don’t automatically choose the cheapest option, as quality workmanship matters tremendously. Verify that your selected contractor carries liability insurance and workers’ compensation coverage, ensuring you’re protected if accidents occur during installation. Once you’ve chosen your contractor, confirm all project details in a signed contract before work begins.
Step 4: Protect Your Property and Clear Access
Several days before your contractor arrives, you’ll want to prepare your home and property to ascertain the project runs smoothly and safely. Start by clearing your yard of outdoor furniture, grills, and decorative items that could get damaged by falling debris or equipment. Next, trim back tree branches that hang over your roof, as these can interfere with the contractor’s work and create hazards. Inside your home, you’ll need to move items from your attic and upper floors away from walls, since vibrations from roof work can cause things to shift or fall. Finally, let your neighbors know about the upcoming project so they’re prepared for noise and activity, and verify your driveway remains clear for contractor vehicles and equipment delivery.
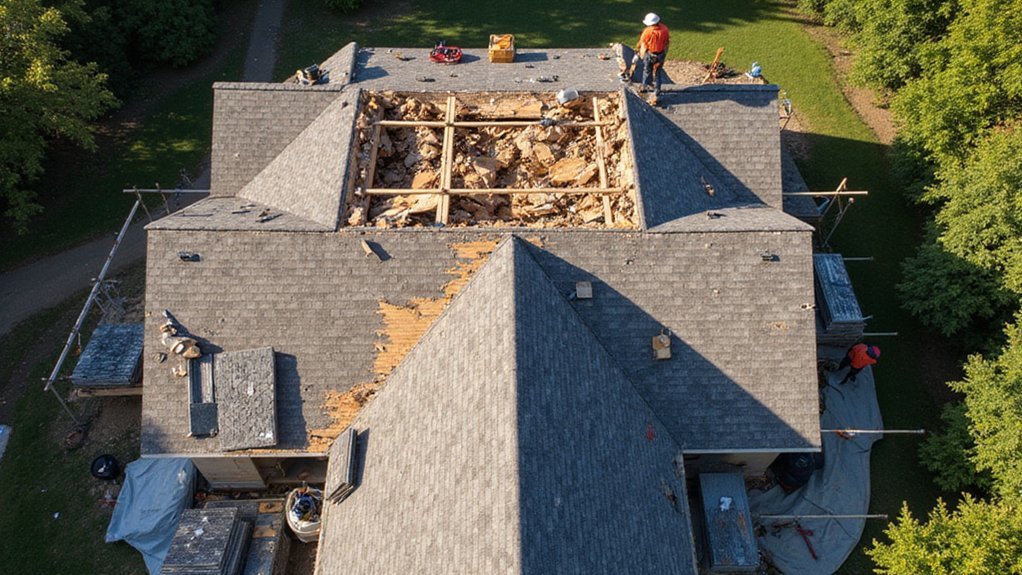
Step 5: Remove the Old Roof and Inspect Decking
With your property prepared and your driveway cleared for equipment, your contractor’s crew will begin the actual roof replacement by carefully removing the existing roofing materials, starting from the top of your roof and working downward in sections. They’ll strip away shingles, underlayment, and flashing systematically, disposing of debris safely. Once the old roof is completely removed, the crew inspects the decking—the wooden structure underneath—for damage, rot, or soft spots. If they discover compromised areas, they’ll replace those sections before installing your new roof. This inspection step is critical because a solid decking foundation guarantees your new roof will last its full lifespan and perform properly.
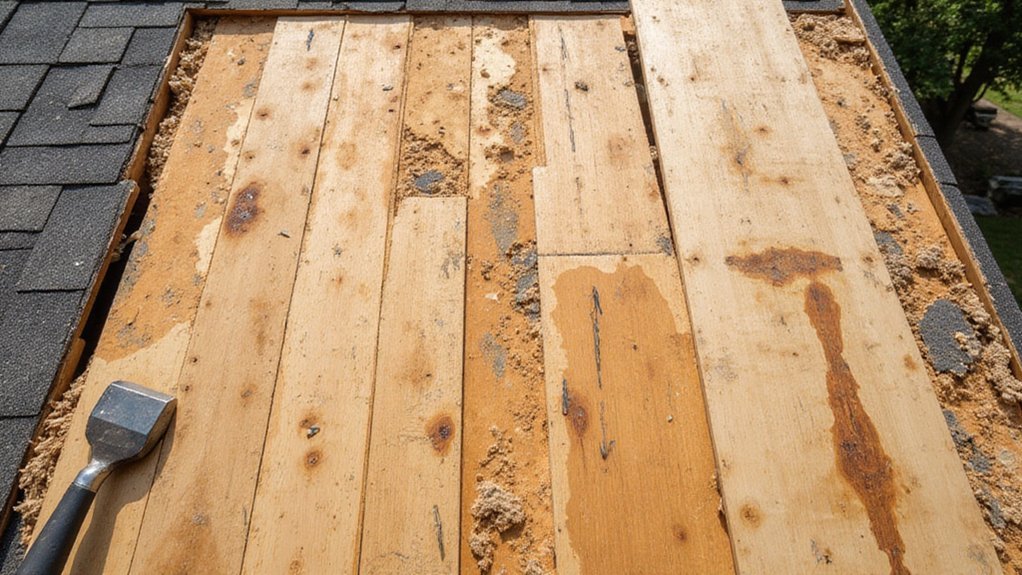
Step 6: Repair Damaged Decking and Roof Structure
If the inspection in Step 5 revealed damaged decking, your contractor’s crew will now address these problems before proceeding with your new roof installation, since a compromised foundation can’t support quality roofing work. They’ll replace rotted or warped boards with new lumber, ensuring your roof structure is solid and level. The crew will also reinforce any weakened areas, checking for structural damage caused by water infiltration or pest damage. They’ll secure loose fasteners and install additional support where needed. This repair phase is critical because it prevents future leaks and extends your roof’s lifespan. Once all decking repairs are complete and inspected, your roof’s base will be ready for underlayment and shingles installation.
Step 7: Install Underlayment and Weather Barriers
Now that your roof’s structural foundation is solid and level, your contractor’s crew will install underlayment and weather barriers, which are protective layers that sit between your decking and shingles to shield your home from water damage and weather exposure. Your crew starts by rolling out the underlayment, a synthetic or felt material that acts as a secondary water defense system. They’ll secure it with nails or staples, ensuring it overlaps properly to direct water downward. Next, they’ll install drip edge along the roof’s perimeter, which guides rainwater away from your fascia and prevents it from seeping into your home’s interior walls. These barriers work together as your roof’s immune system, catching water that penetrates your shingles and channeling it safely away from vulnerable areas. Proper installation here is absolutely critical to your roof’s long-term performance and durability.
Step 8: Install Your New Shingles or Roofing Material
Your contractor’s crew will now lay down the visible outer layer of your roof, which is where all the protective work you’ve done so far truly comes together to shield your home from the elements. They’ll start at the lowest point, working systematically upward in overlapping rows to guarantee water flows downward properly. Each shingle gets nailed securely into place with the correct number of fasteners, typically four nails per shingle. The crew carefully aligns each piece with precision, maintaining consistent spacing and overlap patterns throughout the installation. Whether you’ve chosen traditional asphalt shingles, metal roofing, or tile, the installation method follows the manufacturer’s specifications exactly. Proper installation at this stage is critical because any mistakes here’ll compromise your roof’s effectiveness against weather damage and leaks.
Step 9: Seal Flashing and Vent Penetrations
Once the shingles are firmly secured in place, the crew will focus on sealing the areas where your roof’s various components meet and penetrate through the surface, because these joints and openings are vulnerable spots where water can seep underneath if they’re not properly sealed. The workers’ll apply roofing cement and specialized flashing tape around chimneys, vents, skylights, and pipes. They’ll carefully guarantee that each seal creates a watertight barrier by pressing materials firmly and smoothing out air bubbles. The flashing—metal strips installed beneath shingles—gets sealed along its edges to prevent water infiltration. This step’s critical because even small gaps can cause significant interior water damage over time. Proper sealing safeguards your home’s interior structure and extends your roof’s lifespan considerably.
Step 10: Final Inspection, Cleanup, and Warranty Review
After the sealing work’s been completed, the roofing crew will conduct a thorough final inspection to verify that all materials have been installed correctly and that every aspect of the replacement meets quality standards. They’ll examine shingles, flashing, gutters, and vents for proper alignment and secure fastening. Next, the crew removes all debris, including nails, wood scraps, and old roofing materials from your yard and surrounding areas. They’ll sweep your roof clean and dispose of waste responsibly. Finally, you’ll receive warranty documentation outlining coverage details, duration periods, and claim procedures. Review this paperwork carefully with your contractor, asking questions about what’s covered, what isn’t, and how to file claims if needed. This final step protects your investment.
Conclusion
You’ve successfully rebuilt your home’s protective crown, transforming worn layers into a fortified shield against nature’s elements. Like a soldier completing armor, you’ve moved methodically through each step—removing old defenses, inspecting vulnerabilities, and installing new barriers. Your roof now stands vigilant, guarding everything beneath it. You’ve earned the confidence knowing your dwelling’s integrity depends on this foundation, completed with precision and care.